
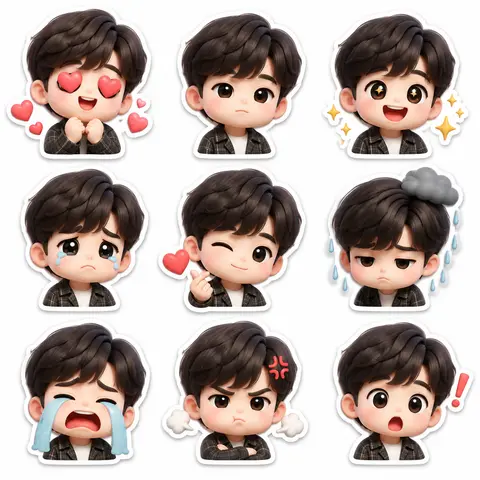
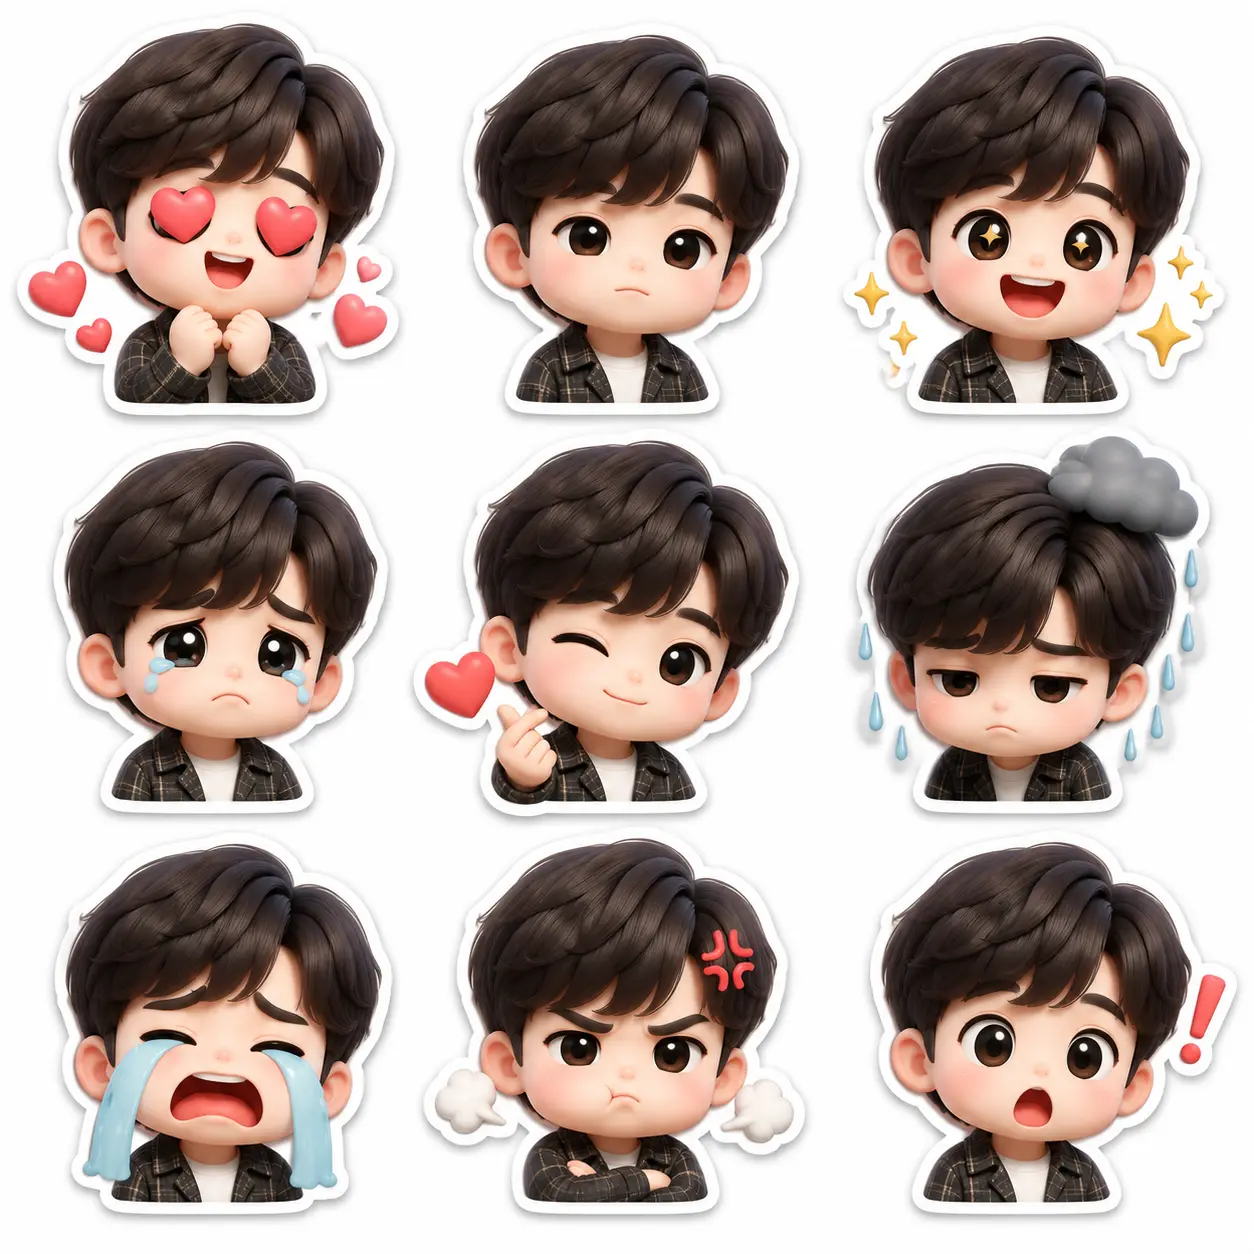

1
Choose a style
Start from a curated visual direction instead of writing prompts.
FREE IMAGES · NO SIGN-UP
Upload one photo, choose a curated visual style, and generate a polished image without prompt writing or complex model settings.
Checking your session
Upload one photo. No account or card required.
Real style outcomes
Every result comes from a reviewed template and returns to the live generator.
A clear three-step flow
Choose a proven direction, add one clear source image, then review the result before you keep it.
Start from a curated visual direction instead of writing prompts.
Drop in one clear photo and keep the subject recognizable.
Use the selected template with model-based credits.
One-time credit packs
No subscription is required. See the exact generation cost before every run and keep purchased credits until you use them.
For testing styles, profile images, and small social batches.
$9
one time200
credits
$4.50 / 100 credits
About 50–100 images
Generation cost is shown before every run
For creators building weekly covers, portraits, and visual posts.
$19
one time500
credits
$3.80 / 100 credits
About 125–250 images
Generation cost is shown before every run
For heavier exploration, client work, and campaign image sets.
$49
one time1,400
credits
$3.50 / 100 credits
About 350–700 images
Generation cost is shown before every run
FAQ
Choose a style, upload one clear image, and see every cost before you generate.
No. Choose a curated style template and upload one clear reference image. The template carries the visual direction for you.
Use a clear JPG or PNG with a readable subject, good light, and minimal obstruction. Simple reference images usually produce cleaner results.
Yes. You can create 2 guest images without signing up or adding a card. Create an account when you want to continue and keep a full generation history.
GPT Image 2 currently uses 4 credits per image. Available model costs are shown before generation.
The cloud AI provider must be able to fetch the reference image. Localhost files and non-HTTPS URLs cannot be read by the provider.
Paid credit generations can be used for personal or commercial projects, subject to the Terms of Service.
Anonymous results stay linked to this device for 72 hours. Signed-in users can review, download, and revisit generated images from My Generations.
For paid generations, consumed credits are returned automatically when the task is marked failed.
Choose a reviewed style and create 2 guest images without an account.
Image style guide
A practical guide for choosing an image to image AI generator before uploading a portrait, product, travel photo, or social visual.
image to image AI generator turns one reference image into a styled result through curated templates instead of open-ended prompt writing. The homepage is for people who want to understand the product quickly: upload one image, pick a visual direction, compare the expected result, and generate when the style fits the job.
The generator is not positioned as a blank AI art tool. It is an image-to-image workflow for creators, founders, product marketers, and solo operators who need a reliable visual transformation for portraits, covers, product hero images, travel postcards, or social content.
The AI image generator from image page must make the source-image contract clear. For the homepage example workflow, that means checking whether the upload matches a portrait, product, place, or mixed scene with one clear focal point, whether its subject is large enough to read, and whether the result belongs to portraits, product visuals, travel images, fashion covers, and social content.
AI image generator from image is strongest when the original photo already has a readable subject but lacks a clear visual direction. It can turn a portrait into a fashion cover, a product shot into a cleaner campaign visual, and a travel image into a postcard-style illustration without asking the user to write a long creative brief.
This workflow also works for quick creative testing. A user can compare several templates, see which look matches the publishing channel, and then spend credits on the style that makes sense rather than guessing from model settings or abstract prompt terms.
The expected result should be judged as a complete visual system: a template-led change to color, texture, mood, and composition. Someone looking for AI photo generator from image needs to understand how those traits affect subject scale, background treatment, texture, and layout, not just the surface color. Review the output at its intended publishing size because a detail that works in a large preview may disappear in a cover, listing, or social thumbnail.
The homepage examples show what a template-led image transformation can do before a visitor enters the style library. The before-and-after comparison demonstrates how the same subject can be reworked into watercolor, fashion-cover, comic, product, or travel-poster directions while keeping the input recognizable.
The most important decision is not whether the output looks decorative; it is whether the image to image AI tool preserves the right part of the original image. The result should keep identity, product shape, or place structure when those details matter for the use case.
People often arrive with a request such as “turn one image into a styled AI result.” The practical workflow is: review a before-and-after example, choose a relevant style family, upload one clear image, and compare the result with the source. Keep the source and result side by side while reviewing. Compare the focal subject and composition, then inspect the protected details and intended crop. This separates a source-image problem from a style mismatch before another generation consumes credits.
For an AI photo generator from image, a clear upload matters more than clever wording. Start with one main person, object, product, room, landmark, or scene. Avoid images where the subject is tiny, hidden, heavily cropped, or too dark for the generator to understand.
A strong input gives the template enough structure to preserve what matters. Portraits need visible facial features and pose. Products need shape and packaging consistency. Travel images need recognizable perspective, architecture, or landscape cues.
Input quality for AI image style generator is determined by evidence, not file size alone. A clean silhouette, readable lighting, stable perspective, and separation from the background give the model stronger guidance than a larger file with blur or competing subjects. If the upload falls outside a portrait, product, place, or mixed scene with one clear focal point, expect more reinterpretation and less control over the details that matter.
A guided image-to-image result should feel more polished than the upload while staying connected to the original subject. The style may change color, texture, layout, and mood, but the user should still understand what image was transformed.
The output can be used for social posts, profile refreshes, concept images, lightweight campaign visuals, and image style exploration. The product should reduce the friction between having a source image and getting a usable visual direction.
For the homepage example workflow, a trustworthy result should preserve identity for people, shape and packaging for products, and recognizable structure for places. Decorative changes can be acceptable, but changes to those protected details require closer review. The right standard is not whether the output looks polished in isolation; it is whether the same person, object, place, or scene remains credible after the selected visual direction is applied.
After the homepage explains the workflow, the next step is the style library. The library lets users compare categories such as portrait, ID photo, fashion, product, poster, travel, photo, film, illustration, character, and collage styles before opening a specific generator page.
Homepage shortcuts help users reach useful templates faster. Someone choosing a fashion look can open a cover template, while someone preparing a product visual can move directly to a product hero poster.
Compare the homepage example workflow with the style library or the open AI image generator by looking at source assumptions first. Two templates can share a mood while requiring different crops, subjects, or levels of structural preservation. A nearby style is the better choice when it solves the desired texture, layout, or channel directly; repeated attempts with a mismatched recipe rarely produce a more dependable publishing asset.
This guided workflow is useful when you want a controlled image-to-image result without writing a prompt from zero. It still needs a good source image because the upload is the main signal for subject, structure, and composition.
It is different from a generic AI image generator because the visual direction is packaged into templates. A user chooses from curated styles rather than assembling an entire prompt and model recipe manually, which makes the AI photo generator from image workflow easier to compare.
The main boundary for the homepage example workflow is that a template can reinterpret details when the source is unclear or does not match the intended subject type. Highly stylized output may be excellent for concept work but unsuitable for identity-sensitive, product-accurate, or documentary use. Decide in advance which changes are welcome and which details are non-negotiable, then regenerate or switch templates when the result crosses that boundary.
Before generating, confirm the subject type, desired channel, visual mood, and tolerance for reinterpretation. Product images need structure. Portrait and ID photo images need identity. Travel images need place recognition. Illustration styles need enough composition to guide the result.
Before downloading from the homepage example workflow, check the focal point, crop, output dimensions, and the details needed for portraits, product visuals, travel images, fashion covers, and social content. Confirm that the same core subject remains clear at publishing size. That review turns a visually pleasing generation into a usable asset rather than an isolated experiment.